Okay, I decided to blog about my experience refinishing this little $8 gem I found at a local thrift store. It is a mid century record cabinet. When I found it, I immediately was inspired by it and knew I needed to bring it back to life and put it in my new house!


- Primer (gesso)
- Acrylic paint
- Paint brushes
- Water
- Dremel tool (with rough brush head)
- Sand paper
- Plastic wood
- Hard work
First I sanded the entire top, made sure it was smooth, and Then filled in all the knicks with Plastic wood filler. After it was dry, I sanded it some more to make sure it was smooth.


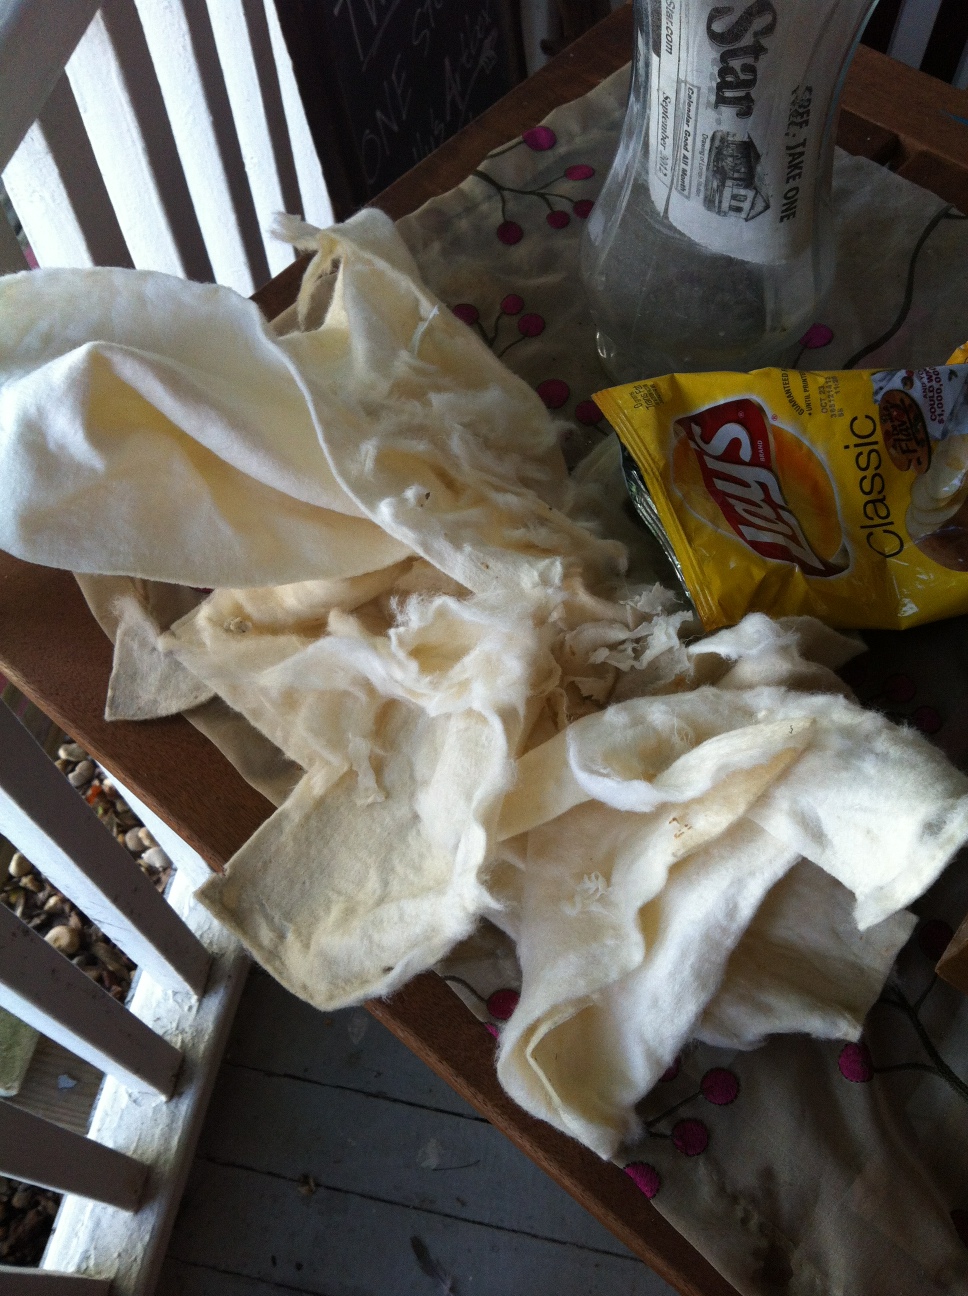
Then here comes the worst part ever. REMOVING THE FELT. As you can see, whoever glued it had a field day with the glue. I removed and pulled as much off as I could by hand. This was a mistake. Because after doing some research, I read that the glue used was probably an animal glue that when wet would come off easily, well...I did wet the left over bits of felt and it did come off much easier, but the pieces that had larger chunks of felt came off easier...so in retrospect, I shouldve just not removed any of it until I soaked it, then removed it in one big piece.


See all that white? That's fluffy bit stuck to the glue.


After removing all that gunk, you can see the brown paint just is terrible. I didn't want to sand all that off, so I decided to just paint the inside sides and cover the bottom with another piece of fabric.
I primed the entire outside with gesso.

I painted the insides blue. with acrylic paint I mixed up myself. I matched the color to the fabric I was using.

Ok, I decided to ombre' striped the doors. I don't know why, this was a difficult task. At first I painted all the stripes their different shades of gray, then tried to take a small brush and fill in the crevasses with black paint. Big mistake. I should've painted the black crevasses first, then the stripes...less touch up work. So that's what I did the rest of them, then went back over the stripes.


Then the fabric. I had this laying around (it was free!), and just so happened to be the exact length I needed! So I kept telling myself, measure twice, cut once....but idiot me cut it on the wrong side of the fabric and of course the slats were not evenly spaces, so it ended up being glued in wrong side up...but you can't really tell it's on the wrong side. :)
I painted about 4 coats of white acrylic on the rest of it. I probably shouldve just invested in house paint, but I already had acrylic around, so why pay more money if you don't have to?